|
Ravin' Noisy  You will need PSP Tube and font of your choice Ding Font HERE
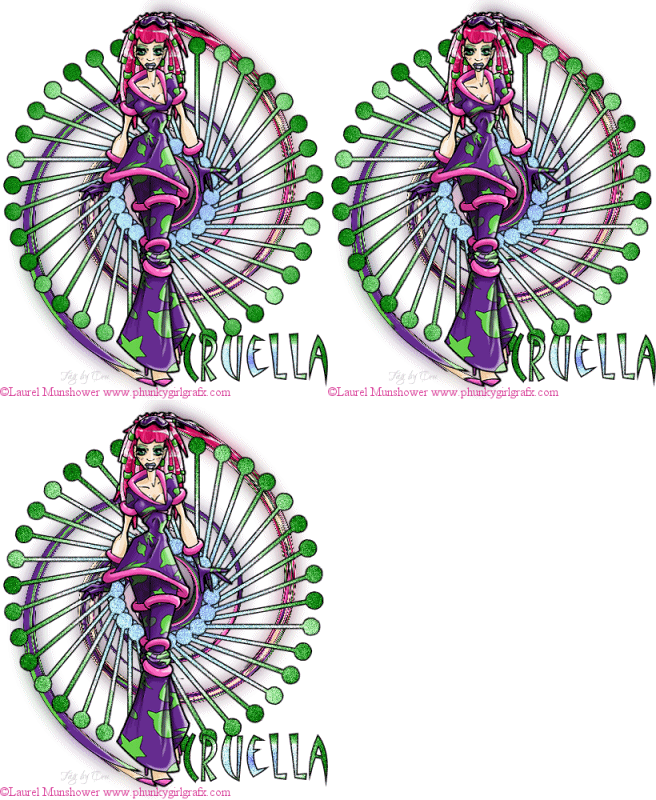
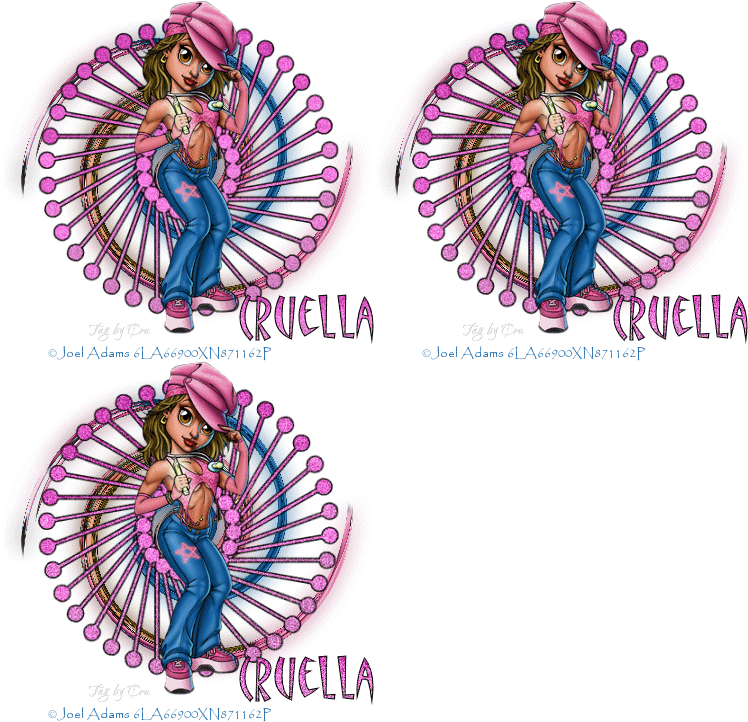
Open a 500 x 500 new image, transparent. Open your tube. For large tubes: Go to Image - Resize and Resize to Height 475, Resample using Smart Size and Lock Aspect Ratio of 1 to 1 checked. Adjust - Sharpness - Sharpen. Copy and paste your tube as a new raster layer and put it aside, we'll use it again later. Effects - Distortion Effects - Twirl 720 degrees Layers - Duplicate Working on the bottom twirl layer: Adjust - Blur - Gaussian Blur - Radius 10 Then highlight the top layer and we are going to add the Ding Font. We are using NOT MORE SHAPES - Size 300 Stroke, Width 1.5 Foreground Color Black Background Color from your tube. I used a gradient. Create as vector. Type the letter "d" Center it, if you need to and go to Layers - Convert to Raster Layer. Layers - Duplicate Layer. Working with the duplicate, go to Image - Rotate - Free Rotate - Left - 30 Close off visibility of all of your other layers and Layers - Merge Visible to merge your ding font shapes together. Layers - Duplicate Layers TWICE Name them Shape Bottom, Shape Middle and Shape Top if you like. Might come in handy later as we get more layers. Shape Bottom Layer: Adjust - Add Noise - 25 Gaussian and Monochrome checked. Shape Middle Layer: Adjust - Add Noise - 35 Gaussian and Monochrome checked Shape Top Layer: Adjust - Add Noise - 45 Gaussian and Monochrome checked You can unhide the rest of your layers now. Copy your tube again and paste it as a new raster layer. Now for your text. I used the font MATISSE ITC (it came standard with my Windows) Size 48 Stroke Width 1.5 and the same colors as before. Create as vector. Move into place if necessary. Layers - Convert to Raster Layer. Layers Duplicate Layers TWICE. Name your layers Name Bottom, Name Middle and Name Top. Name Bottom Layer: Adjust - Add Noise - 25 Gaussian and Monochrome checked. Name Middle Layer: Adjust - Add Noise - 35 Gaussian and Monochrome checked Name Top Layer: Adjust - Add Noise - 45 Gaussian and Monochrome checked Add your artist's copyright credit layer now and your own watermark, if you use one. Open Animation Shop, so it's ready. Working in Paint Shop: Close off your Shape and Name Middle and Top layers. Layers - Merge Visible Right click on your tag and Copy Go to Animation Shop and Right click on the work space and Paste As New Animation. Pull the right edge of your tag window open, so that you can see a little of the next empty frame... (this is something I like to do, you don't have to if you don't want to) Go back to Paint Shop. Edit - Undo Merge Visible Close off Bottom Shape and Name Layers. Unhide the Middle Shape and Name Layers. Layers - Merge - Merge Visible Right click on your tag and Copy. Go to Animation Shop and right click on your first frame of your animation and choose Paste - After Current Frame. Go back to Paint Shop. Edit - Undo Merge Visible Close off Middle Shape and Name Layers. Unhide the Top Shape and Name Layers. Layers - Merge - Merge Visible Right click on your tag and Copy. Go to Animation Shop and making sure you have Frame 2 only highlighted, right click on Frame 2 and choose Paste - After Current Frame. Stay in Animation Shop now. Go up to Animation on your toolbar and select Resize Animation and change Height to 400 (width will change automatically) Smart Size and Maintain Aspect Ratio both checked. Click OK. File - Optimization Wizard - Replace Current animation with optimized. Better quality Image slide all the way to the top and hit next, next. You're optimized. File - Save As - Whatever you are naming this animation. And finally.. you're done! Enjoy your tag!

Thank you to Joel Adams for the inspiration for this tutorial. Thank you to Laurel Munshower for giving permission to use her artwork. |