|
Sexy Silhouettes
 You will need PSP
Lips Tubes
Sparkle HERE
Darrians Sexy Silouettes Dingfont - Download from HERE
Brushes of your choice
Font of your choice
This tutorial was written using PSP 8 and for size purposes assumes you will be using the tube provided.
File - New and create a New Image size 500x390, Raster, Background Colour White
Open your Lips tube and copy and paste as a new Raster Layer.
(If you want to get the kissing effect in the tag example below, copy and paste the kissy lips to match your first lips layer as a new Raster Layer. Make sure this layer lines up perfectly with your first lips layer. Close this layer off from view by clicking on the eye in the Layer Palette.)
Click on the background layer and then Layers - New Raster Layer (this will put this layer below your lips layer) Select the brush or brushes you would like to use and the colour(s) or gradient(s) and have fun decorating this layer. You can make it as simple or elaborate as you like. Have fun with it.
When you are done, close off visibility of all of the layers, by clicking on the eye on the layers palette, ending with the top layer (your lips tube) highlighted. You should see nothing on your tag.
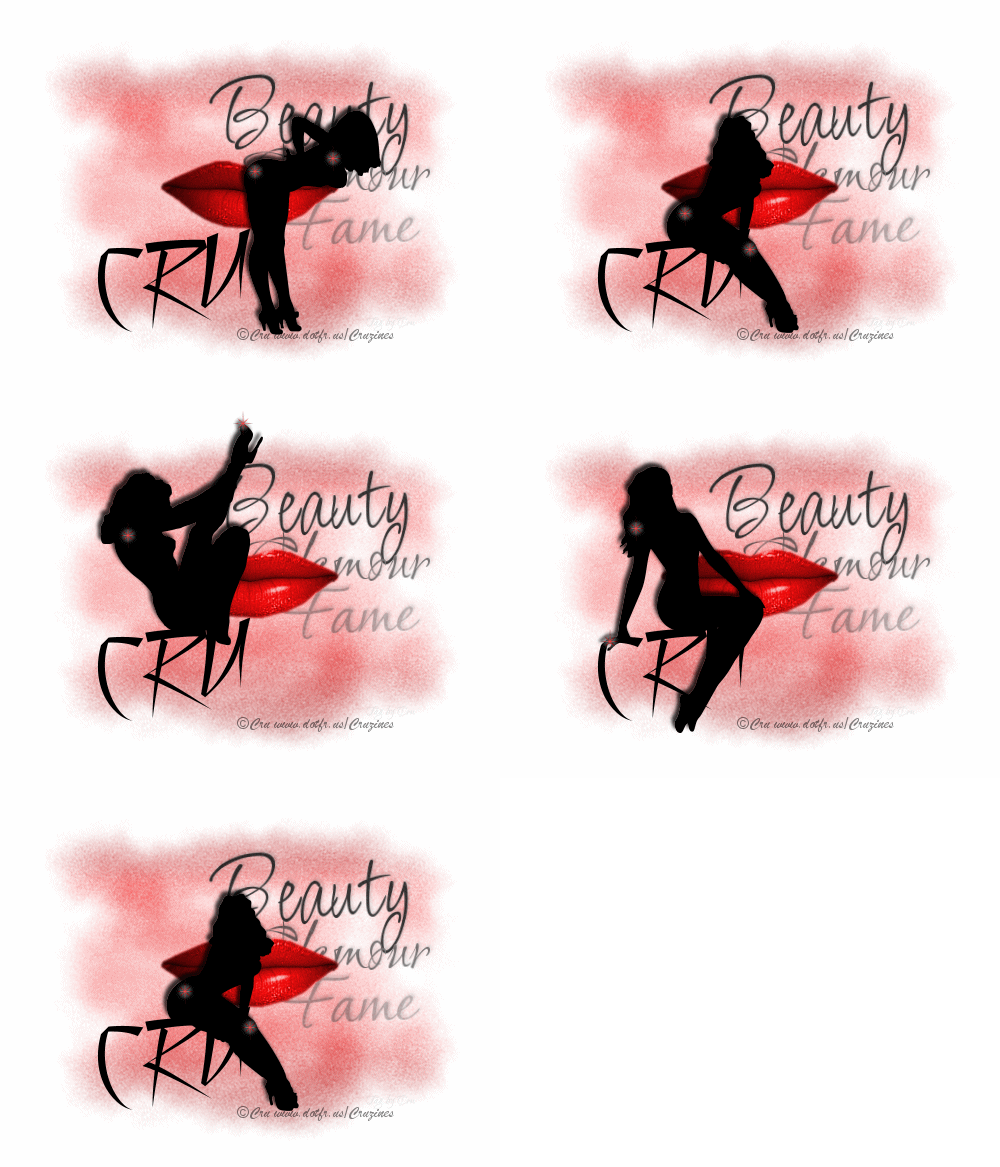
Time to add our sexy silhouettes!
We're using the font Darrians Sexy Silouettes. Size 200. Foreground/Outline closed off. Background/Fill colour is black or the colour of your choice. Create as vector.
Type f
Move the girl to the middle of the page and Layers - Convert to Raster Layer
Type k
Move the girl to the middle of the page and Layers - Convert to Raster Layer
It's starting to look messy, but don't worry about it, we'll neaten it up later.
Type y
Move the girl to the middle of the page and Layers - Convert to Raster Layer
Type c
Move the girl to the middle of the page and Layers - Convert to Raster Layer
Close off the visibility of all of these layers except the bottom one (f) This layer should also be highlighted.
We're going to add the sparkles now, as well as a drop shadow.
Open your sparkle tube and copy and paste it as a new raster layer. Repeat once or twice if you like. Layers - Merge Visible
Rename this layer S1. Add your Drop Shadow with these settings:
Effects - 3D Effects - Drop Shadow
Vertical -4
Horizontal -3
Opacity 80
Blur 5.0
Close off visibility of this layer now. Click on the next layer (k) and make it visible. Repeat the steps above, placing the sparkles in different places and merging and adding your drop shadow. Rename this one S2.
Repeat for S3 and S4
BUT
When you are finished with S4, the top silouette, leave it visible.
Open the visibility of your background and lips layers now. (except the kissy lips if you are using them, leave them closed out)
Let's add your name.
I used the font Still Time, Size 72, Foreground/Outline closed off and Background/Fill colour Black. Create as a vector. Type your name out and then grab the little handle in the center of your name (you should see two curved arrows appear) Now you can use this handle to angle your name slightly up to the right. Move your name to the left, as shown in the tags above and below. Layers - Convert to Raster Layer.
Using your mover tool now, move your visible silhouette, so that the girl sits nicely on your name. Open the visibility of layer S3 and move her to line her up with S4. Their tushies should line up closely. Do the same thing with S2, opening and closing off visibility as needed to make sure the girls are nicely matched up. Close off visibility of S4 and S3, leaving S2 open. Make S1 visible and line her feet up with the feet of S2 as closely as possible.
When you're done, make sure that the visibility of the S4, S3 and S2 are closed off. Only S1 is visible.
Phew! If you need a break, grab a cup of coffee, but we're almost done, I promise.
Add your artist's copyright layer and your tagged by watermark.
Now.. we're ready to go to Animation Shop.. the end really is in sight!
Open Animation Shop
Working in Paint Shop:
Layers - Merge Visible
Right click on your tag and Copy Go to Animation Shop and Right click on the work space and Paste As New Animation. Pull the right edge of your tag window open, so that you can see a little of the next empty frame... (this is something I like to do, you don't have to if you don't want to) Go back to Paint Shop. Edit - Undo Merge Visible
Close off visibility of S1
Unhide S2
Layers - Merge - Merge Visible
Right click on your tag and Copy. Go to Animation Shop and right click on your first frame of your animation and choose Paste - After Current Frame. Go back to Paint Shop. Edit - Undo Merge Visible
Close off visibility of S2
Unhide S3 (if you are using the kissy lips make them visible now and close off visibility of your regular lips)
Layers - Merge - Merge Visible
Right click on your tag and Copy. Go to Animation Shop and making sure you have Frame 2 only highlighted, right click on Frame 2 and choose Paste - After Current Frame.
Go back to Paint Shop.
Edit - Undo Merge Visible
Close off visibility of S3
Unhide S4 (if you used the kissy lips, close off visibility of them again and open up your regular lips once more)
Go to Animation Shop and making sure you have Frame 3 only highlighted, right click on Frame 3 and choose Paste - After Current Frame. Stay in Animation Shop now.
Click on Frame 2 to highlight it. Right click on Frame 2 and choose Copy. Click on Frame 4 to highlight it, then right click on Frame 4 and choose Paste - After Current Frame.
Click on Frame 1 to highlight it. Now press CTRL A and you have now selected and highlighted all frames. Right click on Frame 1 now and select Frame Properties and change the display time to 30.
File - Optimization Wizard - Replace Current animation with optimized. Better quality Image slide all the way to the top and hit next, next.
Wow! You're finished!
File - Save As - Whatever you are naming this tag.
Congratulations on a job well done!
Enjoy your tag!
 The lips used in this tutorial were made in Poser 5 by myself, Cru. Don't forget to read my TOU.
Please DO NOT copy this tutorial to put online, pass out or re-write without my permission. You may link to them or print them out for your own personal use.
This page is kept printer friendly for those who print out their tutorials.
|