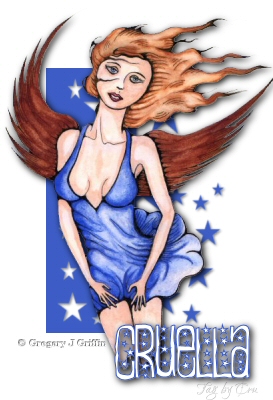
Starry Goth
You will need
PSP
Mask HERE
Tube and Font of your choice
Or
Find and open your mask in PSP. Place it to the side for now.
Open your tube and duplicate it by pressing Shift and D. Close your original.
Add a new rastor layer to your copy and flood fill it with a color of your choice. Put this layer beneath your tube layer.
Add a new rastor layer and flood fill it with white. Put it beneath the first flood filled layer.
Your tube layer should be on tup now.
Highlight rastor layer #2, the middle one.
Layers - New Mask Layer From Image - Maskestrelos
Layers - Merge - Merge Group
Effects - 3D Effects - Drop Shadow
Vertical 2
Horizontal 2
Opacity 45
Blur 5
Color: Black
Image - Resize - 66% (pixels) Resample using Smart Size, Resize all layers - unchecked.
Now go to your tube layer and apply a Drop Shadow
Vertical 2
Horizontal 2
Opacity 100
Blur 10
Color: Black
Now for the text: I used the Font, Easily Amused:
Size 48 and Stroke Width 1
Foreground same color used in the mask and background color white. Create as a vector.
Effects - 3D Effects - Drop Shadow same as for your tube layer.
New raster layer for artists watermark.
Layers - Merge - Merge visible
Resize to 400 on the longest side or whatever you feel looks best.
Adjust - Sharpness - Sharpen
Export as jpg.
Thank you to
Gregory Griffin for giving permission for the use of their artwork.